Showing posts with label fuel tank. Show all posts

Tuesday, 18 December 2018

September 2018, FHC build begins

I had already put in an entry for the Lombard Rally Bath 2018 to take place on 19th-20th October. A guy called Tim Nash had called me earlier in the year to ask about classic runs and told me about his new idea. This was to be a classic tour type event but using some of the iconic venues from the old Lombard RAC Rallies of the 1970s and 1980s. It would start from Pultney Street in Bath and visit Longleat House, Cricket St Thomas, Wiscombe Park Hillclimb, Porlock Toll Road and Cheddar Gorge with lots of nice countryside in between.  The FHC would be the perfect car to use so with it just back from the bodyshop it was time to start putting it all together.

Engine Bay:

The bodyshop  jobs had been to repair the bad places on the outside but there was still the engine bay to tidy up. The only way to do this properly was with the engine out so trusty mate Chris Riley was brought in as usual to assist lifting the engine and gearbox out.

The result was plenty of working space now.


So I proceded to remove the rest of the stuff in the engine bay and got to this

Few more hours work and it looked like this

First things to go back were the new uprated brake servo/master cylinder  and new brake pipes.

I always make a point of "priming" a new master cylinder before fitting as they can be difficult to bleed from dry, so I do it like this with a couple of pipes to recirculate the fluid until I am sure its cleared out all of the air:-

 Sometimes it helps to get closer to the job........

Driving the car back from the bodyshop I thought the gear change felt a bit stiff so rather than mess about we swapped the gearbox to a good spare I know is OK. Whilst doing this we noticed the clutch plate seemed wrong so whipped the cover off to find there was a broken section so a new one went in.  
Arrow shows a broken off section

Before putting the engine back I did a couple more little jobs. I replaced the bushes on the gearbox remote extension and fitted a Volvo gearbox mounting.  This is because the modern replacement mountings are of poor quality and much too hard so they transmit a lot noise and vibration. Helpfully there is a Volvo 740 one which is readily available and almost a direct swap!  These are still made with good rubber and work well.

You can read more about it on MyDrive here:-   TR7 Volvo 740 Gearbox Mount

Its only necessary to slightly elongate the two bolt holes but I also had some washers welded on mine to replace the strength, just to be sure.
Another little job was to repair the cap that hold the gearlever in place. These have a small tab that holds them onto the top of the gearbox extension but the tab frequently breaks off. Solution is to weld on a small washer to repair and strengthen it.

They often come with the mounting tab broken off.
Repaired with a washer welded on.
Fuel Tank:

When I put fuel in the car I had noticed a whiff of petrol fumes in the boot area. Investigations soon revealed that the small vent pipe from the top of the tank to the filler neck was perished and needed to be replaced.
That vent pipe certainly needs to be replaced ! 
According to the workshop manual this job can be done through the access panel in the boot but I found this to be pretty much impossible, so I decided it would be best to take the tank out. Then there was also the common problem of the small filler neck screws being seized so they had to be drilled out. I still had a good spare filler neck from breaking my old red DHC so would use that - more about that later.

The tank mountings all came undone quite easily and it was obvious that it had been replaced at some time because it still had the part number stickers on but needed tidying and painting before I put it back.

With the tank out I also found evidence of repairs to the rear wheel arches on both sides where someone had cut out rusty areas and patched over them. Fine but they never finished the job on the other side!
This wheel arch patch needs finishing on the inside as well.
I treated the tank and surrounding areas with Hydrate 80 Rust Converter and painted it with Tetrosyl sealer so that should be good for many more years. 

After putting it all back together I discovered that the DHC filler neck is NOT the same as a FHC one as you can see from this picture. Apparently the different rear deck of the FHC needs a slightly taller
Filler cap sits lower than usual.
filler neck so mine is now about 5mm too low but it works fine so will stay like that until I have a reason to have the tank out again.

Rear Suspension:

The rebuilt axle went in with a couple of replacement lower arms because the old ones were rotten. They seemed OK at first glance with polybushes and having been powder coated, but a closer look showed they were rotten near the bump stop pad at the rear end. I am guessing water got under the powder coating and worked its magic there.  I had a couple of replacements in stock but made a point of drilling a water drain hole before painting and fitting them.
Water drain hole drilled in lower link
 Next little issue was with the new springs. The top end had not been finished very well so the open end of the coil stuck out and made contact with the chassis rail. Not good.
The spring should not touch the chassis rail socket!
A little bit of work with the grinder took the corner off so it now clears OK.

........................................................................................................

I also took the opportunity to move the radiator header tank from the right to the left side of the engine bay. This was because I think it makes for less congestion on the right side which already has the carbs and allows better access to the alternator.  I also want to move the coil to the inner wing (as on the later cars) from its strange location inside the tunnel next to the gearbox but this could wait till later.
Why would they put the coil here?

So the engine went back in and I could get on with all those other little jobs that take a lot of time.
Almost ready to go.
One interesting little thing came up when I took the radiator to a local specialist to be rebuilt. His invoice gives the name of the car as "TR7 Bullet", how neat is that?


Monday, 20 May 2013

2013 - The New Blue Car Project Begins

I had realised back in 2010 that my original TR7 I bought in 2002 was not going to last too much longer.  The previous owner had done quite a lot of welding but it was not very good quality and I found some important bits he missed, or rather the MOT man did.  Almost at the same time I bought another TR7 which was an abandoned project and was structurally sound.  See my previous post about this with some pictures.

However when I started to get serious about the project I found that the interior had got wet at some time so was actually in a poor condition and would all need replacing.  Also when I got a quote for a decent paint job it came to almost £1500.  This meant there was much more work - and expense - in putting it back on the road to the standard I wanted so I decided to sell it.  Less than two weeks later it had gone to a new home up near Manchester.

Looking round for a replacement I found a good looking  1981 Midnight Blue TR7 on Ebay and bought it for less than the price of painting the old one.  It was pretty tidy and had quite a lot of good stuff already done, like uprated brakes and suspension, 15" wheels, stainless exhaust, electric fan, electronic ignition etc etc.    It had some restoration done previously but there were a couple of spots still  needing attention, mainly the front of the rear wing just above where it joins the sill. This is a regular TR7 problem area and repair panels are easily available.

May 2013.  The car was booked into a good local bodyshop but the MOT test expires on 1st June so I took it for a test not expecting any trouble.

Wrong.

The tester pointed out a badly corroded fuel tank strap that would need  replacement before he could pass it..
Yes, its completely broken!


I ordered some new straps from Robsport and started to get the axle out to give access to the tank. This is when the fun started.

Someone had been at the axle bolts before me and they were mostly rounded off so this was going to be fun.


Out came the grinder to take the heads off and things were going pretty well with showers of sparks until I noticed something was dripping amid all the sparks. It was petrol !!!


Yes, that is petrol leaking!


I only just touched the spot where the petrol was coming from and the sealer came away to reveal petrol dripping in a steady stream from the tank.  Not good.


Hmmmm, I think any more grinding will have to wait till the leak had stopped.   I drained as much as possible (about 6 gallons)  from the tank and left it dripping into an old washing up bowl overnight.


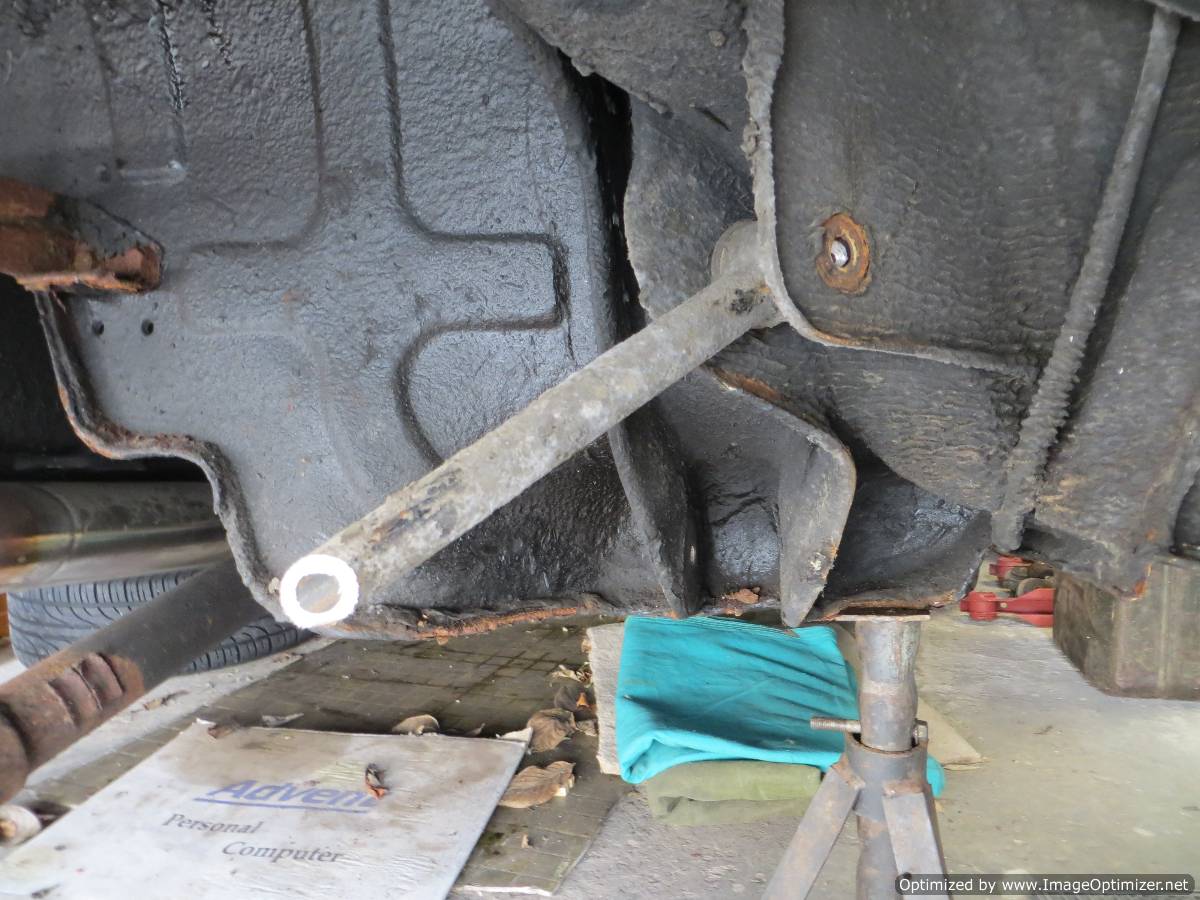
Next morning the drips had stopped and I was able to get the axle out completely, but not before some more grinding.  The upper link bolts at the body end are harder to access so I had to cut though the links.
Bolts cut off with the grinder.


It seems a bit brutal but it was the best way to get at those top link to body bolts. I do have a some old suspension links "in stock" so temporary replacements are no problem.


Top link sawn off
to aid access to bolts


So the axle is now on the floor and the new tank mounting straps are on their way from Robsport.  


Axle finally out


I found a replacement tank in Aberdeen via the TR7/8 Forum  and did a deal at a good price.  By a amazing stroke of good luck a friend in Aberdeen ( John Roberts ) is coming down to Gloucestershire in the next couple of days  to collect a Fiat 124 Coupe he has bought from Stroud and will bring the tank down with him.


Update: 22 May 2013.  My friend John has delivered the tank which looks pretty good but has obviously been sitting for a while and has something making sloshing noises inside.  He also gave me some fuel tank restorer/sealer stuff that he had left over to treat it before I install it.  

23 May 2103.  The tank treatment is in three parts, a cleaner/degreaser,  an etching solution and finally the actual sealer. I have done the first two giving them a good "slosh around" - that is the actual term used on the products labels - and its now waiting to air dry before adding the sealer.  I will also give it a good external paint layer for protection before fitting.

Replacement tank during treatment