Monday 18 April 2016

17th April 2016, Clutch master cylinder

Checking the lights before our journey home after the Corinium Run we noticed that the brake lights had stopped working.  A brief investigation showed it was the switch which was faulty so that needed doing as a priority. Its not a difficult job, just a bit awkward working up under the dash, but when I was replacing the faulty brake light switch I spotted signs of something dripping on the mat

That wet spot means trouble
 
and this is where the drips come from
The clutch master cylinder needed to be replaced soon before it let me down and I already happened to have a new one "in stock" so that was good.

I had been considering fitting one of those nice shiny Aeroquip type stainless hoses instead of the standard plastic one so now was my chance and I ordered one from Robsport. It arrived next day so that was great service.   Swapping the master cylinder and hose was pretty straightforward and only took an hour or so, but like the brake switch involved mostly working upside down under the dash. Why is that so much more difficult than it used to be when I was 20 years younger?

New master cylinder and hose

New hose at the slave cylinder end
After bleeding I now have a really smooth clutch pedal which feels better than it has ever been.

14th April 2016, Corinium Run

I asked my old mate Chris Riley to come along again on the Corinium Run again this year. I have know Chris since the 1970's and we have competed and serviced on rallies together ever since. He also helps me with the two man jobs on the TR7 so a very useful bloke to have around.

The Corinium Run is a classic tour of about 125 miles using "Tulip" navigation. For those who don't know this is a system named after the Tulip Rally in Holland who developed it in the 1950's. It uses a series of diagrams of the road junctions and features found along the route and the distances between them. Most serious crews have a special trip meter fitted in their cars to give a very accurate distances but we used an app on a mobile phone which worked pretty well. I will have to invest in a trip meter if we do many more runs.


Tulip navigation explained

2016 Roadbook, our actual route
 It was a nice day, but cold and even a slight frost early on. Leaving home we soon discovered that the heater blower was not working, not a disaster, but we had to rely on the air coming through the heater as we went along which turned out to be OK. It was my own fault because I had been working on the centre console and had not tested that everything was OK afterwards, beginners mistake.

This year they had allocated us the same start number as last year - 42 - how neat is that.

Start was at the Cirencester Town Football Club premises where they gave a us a nice bacon roll and a hot drink before the first car left at 9:30am.  The route then took us through Daglingworth, the Duntisbournes, North Cerney and Rendcombe before our first stop at Chedworth Farm Shop for a tea and one of their excellent cakes.

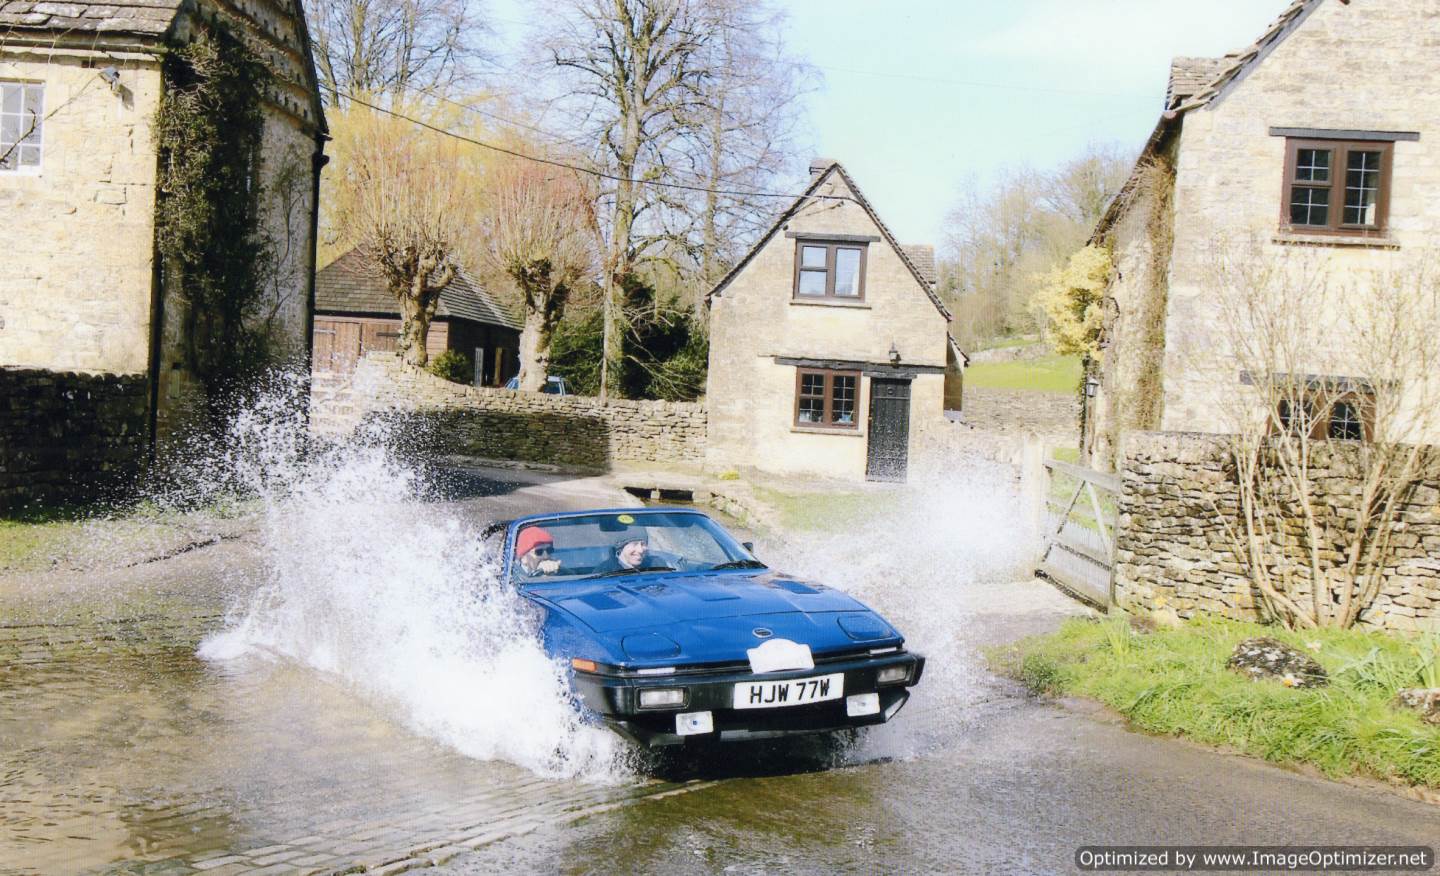
Duntisbourne Leer.   Sorry, but I can't resist a watersplash.
After refreshments our route took us further north along the lanes via Yanworth, Compton Abdale, Hawling, Hailes and Greet before the lunch halt at the Gloucestershire & Warwickshire Steam Railway in Toddington.   This suited us fine because both Chris and myself are steam enthusiasts. Turns out he has bought himself a day out there soon and will be actually driving one of the engines so I am very envious.

Wonderful stuff
The afternoon run then took us though Stanway and another ford to Guiting Power, Bourton on the Water and Turkdean before our tea stop at the Cotswold Lion Cafe. This is actually the old Northleach Prison and again they do very good cakes. Do you detect a pattern here - lots of stops for tea and cakes!
I tried to get the photographer wet

The tea and cakes are excellent here!
 We got back to the finish in Cirencester to be greeted with a choice of curries, chili or sweet & sour whilst the organisers worked out our fuel consumption.  This turned out to be 25.99mpg so not bad for a lot of twisty and hilly lanes.

Another great day out in the TR7, which is exactly what I bought it for in the first place. The car had behaved itself perfectly and we had really enjoyed ourselves.


Thursday 7 April 2016

6th April 2016, Indicator buzzers changed

I originally fitted indicator buzzers in the old red car because I found it was too easy to leave the indicators on by mistake, especially with the top down.  I moved them with all the other good stuff over to the blue car but they have started to sound a bit poorly so I decided it was time they were replaced. Very easy job to do and they are cheap to buy, so I sourced a couple of different types off Ebay to see which sounded best.
Choice of different buzzer types
Testing them I found the round ones were a bit too strident and decided the rectangular ones would be better and more gentle on the ear. Only took a few minutes to make them up with some connectors ready to plug into the wiring adapter in the indicator stalk tail (see picture March 2015).

Buzzers ready to plug in
 Most difficult part of the job was reaching up under the dash to plug them in!

Saturday 2 April 2016

30th March 2016, Radio fix and console change.

The radio has been playing up a bit, working sometimes and not others so I needed to find out why. I had only stuffed an old Panasonic stereo/cassette in there as a temporary one anyway so it was time to do something more permanent.  The radio location in a TR7 does not have enough depth behind it to take most standard head units without sticking out but I had a modern Radiomobile unit which is much smaller that I kept from the old red car. There is no cassette player but it has facility for an SD card, a USB stick and an Aux input instead.

Tracing the intermittent fault was the first priority and with the console removed I soon found that moving the wiring about caused the fault to come and go. The problem was to narrow it down to which wires. Trial and error revealed it was in the two standard connectors just below the heater that supply live and earth to the radio. Attempts at cleaning the connectors didn't work so I ended up replacing them with modern crimp connections. Not as neat but the fault was fixed. Looking at the old connectors I took off revealed some corrosion in the wires so they obviously got wet at sometime in the past - maybe from a heater leak judging by the location.
New crimps connectors fixed the radio fault
Whilst the console was out I took the chance to replace the old cigarette lighter with a modern 12v socket and add a USB output socket as well. This will be useful for a phone charger or sat nav later.
Console with USB, 12v and driving lamps switch