However when I started to get serious about the project I found that the interior had got wet at some time so was actually in a poor condition and would all need replacing. Also when I got a quote for a decent paint job it came to almost £1500. This meant there was much more work - and expense - in putting it back on the road to the standard I wanted so I decided to sell it. Less than two weeks later it had gone to a new home up near Manchester.
Looking round for a replacement I found a good looking 1981 Midnight Blue TR7 on Ebay and bought it for less than the price of painting the old one. It was pretty tidy and had quite a lot of good stuff already done, like uprated brakes and suspension, 15" wheels, stainless exhaust, electric fan, electronic ignition etc etc. It had some restoration done previously but there were a couple of spots still needing attention, mainly the front of the rear wing just above where it joins the sill. This is a regular TR7 problem area and repair panels are easily available.
May 2013. The car was booked into a good local bodyshop but the MOT test expires on 1st June so I took it for a test not expecting any trouble.
Wrong.
The tester pointed out a badly corroded fuel tank strap that would need replacement before he could pass it..
 |
| Yes, its completely broken! |
I ordered some new straps from Robsport and started to get the axle out to give access to the tank. This is when the fun started.
Someone had been at the axle bolts before me and they were mostly rounded off so this was going to be fun.
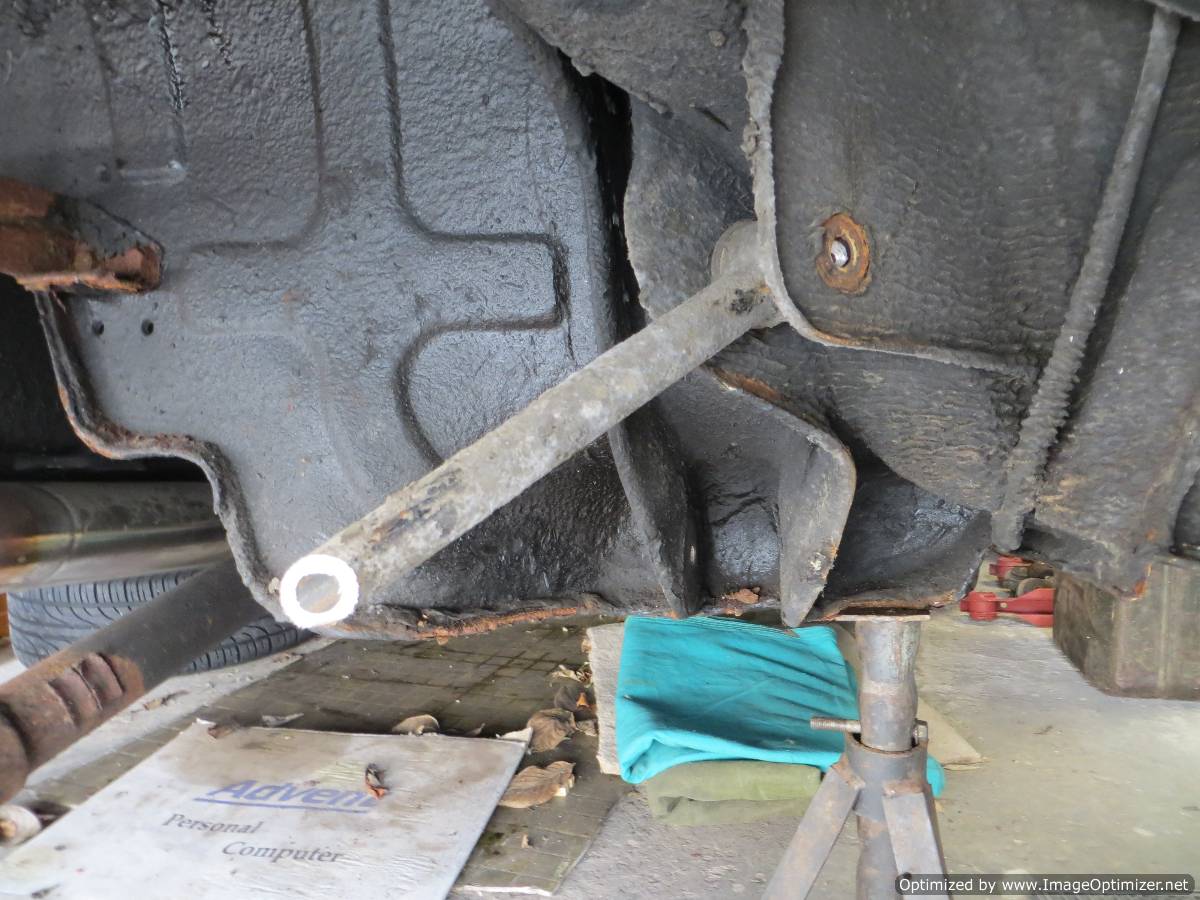
Out came the grinder to take the heads off and things were going pretty well with showers of sparks until I noticed something was dripping amid all the sparks. It was petrol !!!
 |
| Yes, that is petrol leaking! |
I only just touched the spot where the petrol was coming from and the sealer came away to reveal petrol dripping in a steady stream from the tank. Not good.
Hmmmm, I think any more grinding will have to wait till the leak had stopped. I drained as much as possible (about 6 gallons) from the tank and left it dripping into an old washing up bowl overnight.
Next morning the drips had stopped and I was able to get the axle out completely, but not before some more grinding. The upper link bolts at the body end are harder to access so I had to cut though the links.
 |
| Bolts cut off with the grinder. |
It seems a bit brutal but it was the best way to get at those top link to body bolts. I do have a some old suspension links "in stock" so temporary replacements are no problem.
 |
| Top link sawn off to aid access to bolts |
So the axle is now on the floor and the new tank mounting straps are on their way from Robsport.
 |
| Axle finally out |
I found a replacement tank in Aberdeen via the TR7/8 Forum and did a deal at a good price. By a amazing stroke of good luck a friend in Aberdeen ( John Roberts ) is coming down to Gloucestershire in the next couple of days to collect a Fiat 124 Coupe he has bought from Stroud and will bring the tank down with him.
Update: 22 May 2013. My friend John has delivered the tank which looks pretty good but has obviously been sitting for a while and has something making sloshing noises inside. He also gave me some fuel tank restorer/sealer stuff that he had left over to treat it before I install it.
23 May 2103. The tank treatment is in three parts, a cleaner/degreaser, an etching solution and finally the actual sealer. I have done the first two giving them a good "slosh around" - that is the actual term used on the products labels - and its now waiting to air dry before adding the sealer. I will also give it a good external paint layer for protection before fitting.
 |
| Replacement tank during treatment |
No comments:
Post a Comment